-----------------------------------------------------------------------------
MAKING OF DOMMARCUX, COW #76
-----------------------------------------------------------------------------
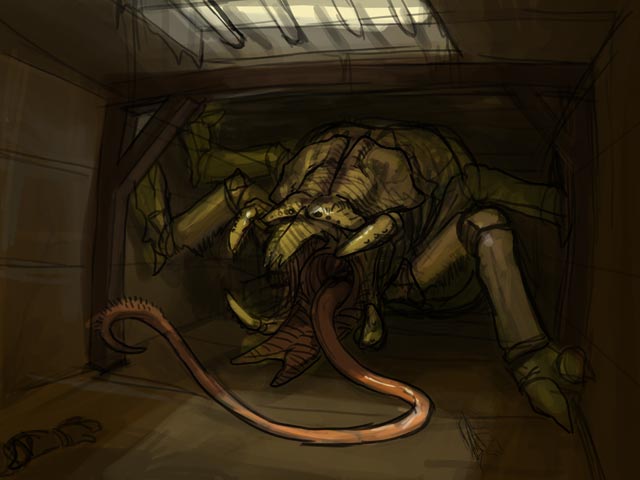
pic 1 :
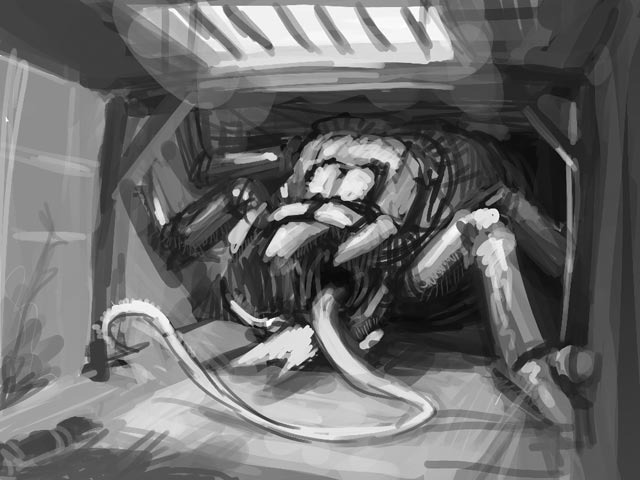
I allready had an idea for the creature I wanted to do. When reading the about this weeks theme I immediatly came up with the idea of a huge spider/crab like creature that would be almost as big as the dungeon itself. However, I wasn't sure about the composition that would best convey this idea. I started out with a side view. But because it was fairly boring, I wanted to go for a more dynamic p.o.v. I Started to block out the image I had in my head in OpenCanvas 1.0. I love sketching in this program. It has little interface to worry about, and a nice standard brush. It also records everything you do, and allows you to play it back later. I started out with a resolution of 1500 x 1500 pixels, basically enough screenspace to fool around in without worrying about the final aspect ratio. Once I hit the composition I wanted, I broadened the screen to 2000 pixels wide because I ran out of space, and I always opt for enlarging the canvas rather then resizing the drawing. I concentrated mainly on the light and dark values to get a nice moody look. I played around with some window setups and finally settled for an overhead hatch. I chose this because it gave the most opportunities for a dramatic lightning setup.
pic 2 :
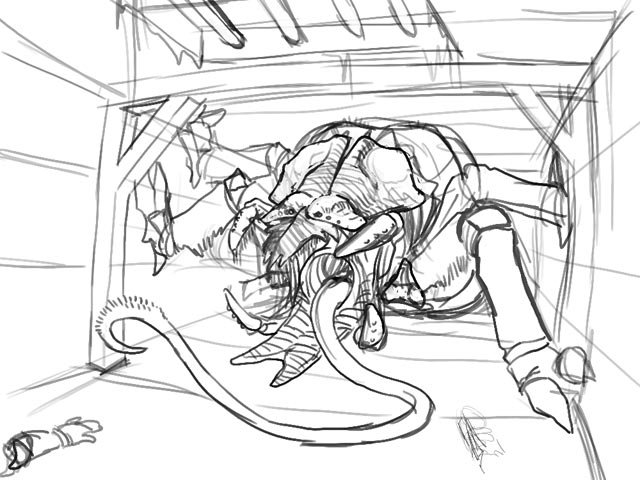
To define my shapes a bit better I did a quick outlined version of the first setup. This way I would have a guide where to put the colors. It also helped think about details of the creature that I ignored in the first pass.
pic 3 :
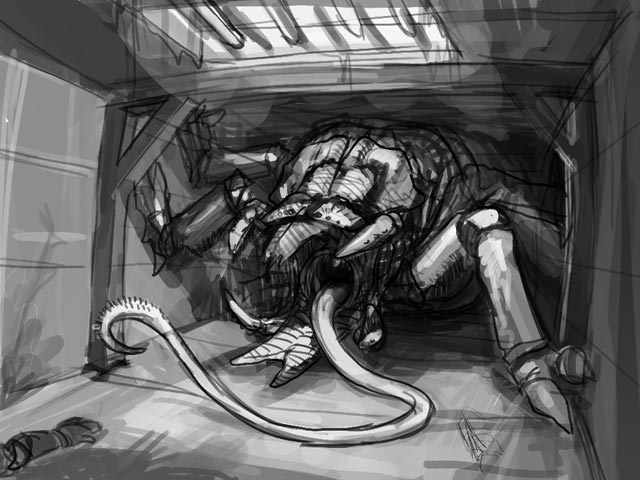
By overlaying the outlines with the b/w sketch, I got a pretty good idea on how the lighting would turn out. I also got a good idea of the level of detail I would need for the various parts. The head of the creature would be a natural focal point, and thus the most detailed part. At this point I saved everything in one layer as a .bmp and started up Photoshop CS2 for the coloring. For quick sketches OC is fine and intuitive, but it lacks the functionality of Photoshop.
For those interested in the .wpe file, click here to download it . Search on google for a free version of OpenCanvas 1.0 if you dont have it. Put it to english and choose "Import event file" to view the sketch.
pic 4 :
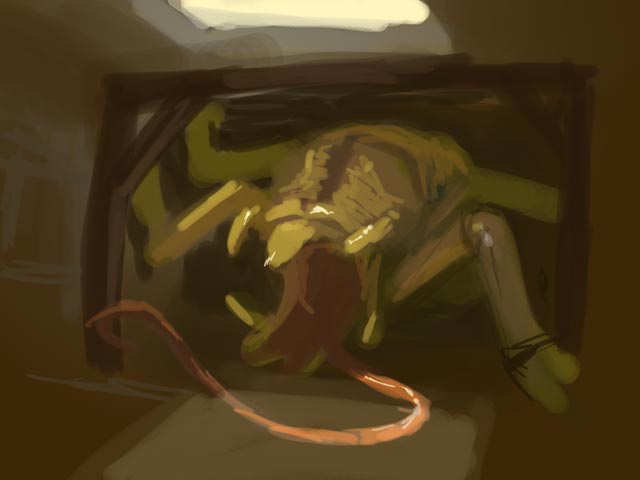
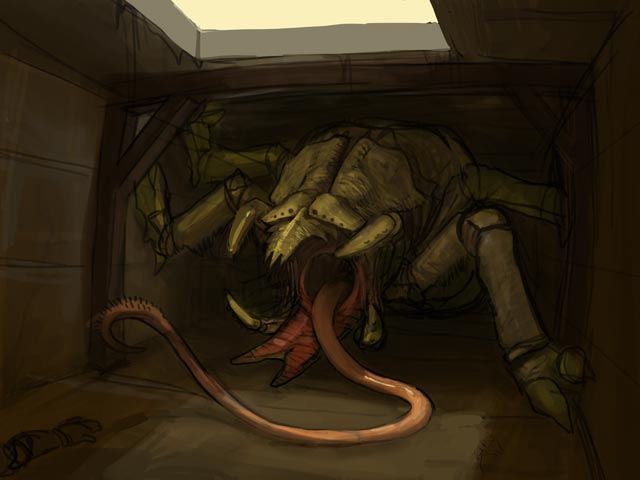
This is the first quick pass at the pic. Basically this was done to get a feel of the color pallette I had in mind. I also tried to work in the values according to the overhead lighting. Overall it's pretty okay but a bit too light at this point. It doesnt really matter, since it's just a starting point for the next steps. I tried to stay away from colors that were to saturated, I only used them in parts that needed focus and detailing. I did this coloring by putting the pic from step 3 in a layer with multiply on it.
pic 5 :
This step is to show how I worked on the picture during the first coloring step. I turned the layer with the lines and shadows on and off to get a clear idea of how the colors worked together with the shadows and lines. When I was happy with the result I flattened the layers to a single layer. I went for a brownish and dark look since it fitted the dungeon theme very well. Also the earthy colors would fit the crustecean look I was going for with the Dommarcux. After this step I upscaled the image to 4000 x 3000 pixels. This is usually big enough to work on details without having to zoom in.
pic 6 :
This is the first detailing pass after establishing the color scheme. I refined some parts of the head, and tweaked some of the shadows. I also removed the bars from the top window. I would put them back later, it was easier to paint the frame and window without the bars and add the bars later. To keep up the speed, I kept working in the same layer. It's recommended to do an incremental save of your file, or to paste the single layer to a new layer. Just so you can switch back if you really mess up. At this point I also flip the image regularly to see if things are off. Things tend to get skewed if you only work from one perspective, and flipping the image gives you a fresh view of things.
pic 7 :
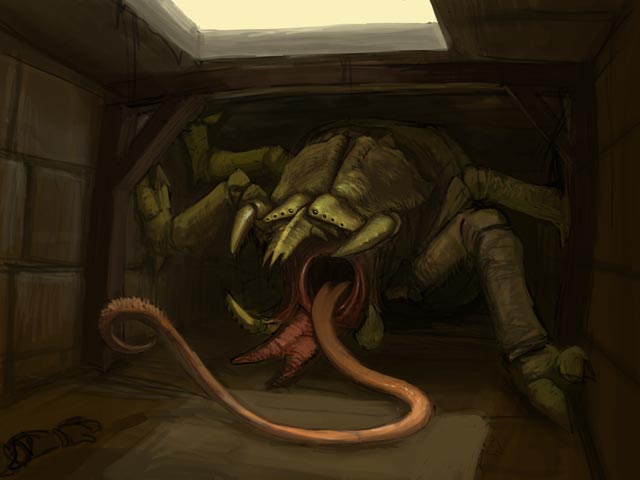
Added more detailing and worked on the highlights on the head of the creature. Also added the outlines of the stone wall. The values on the back legs also needed a bit of adjustment to bring them further to the back and to detail them better.
pic 8 :
Still adding more details, and some highlights to define the wooden beams. Also added some moss to the hatch to give it a bit more old and weathered look.
pic 9 :
More detailing and worked on the shadows. Also added more details to the walls. Up to this point (and basically for the whole pic) I just used a hard round brush with the pen pressure set only to opacity. I tend usually change size and opacity with the keyboard shortcuts.
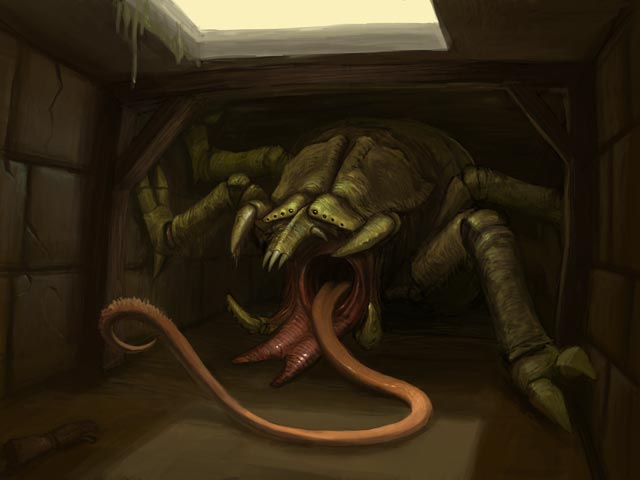
pic 10 :
Darkened the darkest shadows a bit more. Intensified the hightlights more and defined the scaly skin by adding more shadow patches. I also added the bars to the top window and added them to the light on the ground. Also put in more moss. Almost getting to the final stages. At this point it's all about just trying to spot parts that look off or undefined and work on them as much as possible.
pic 11 :
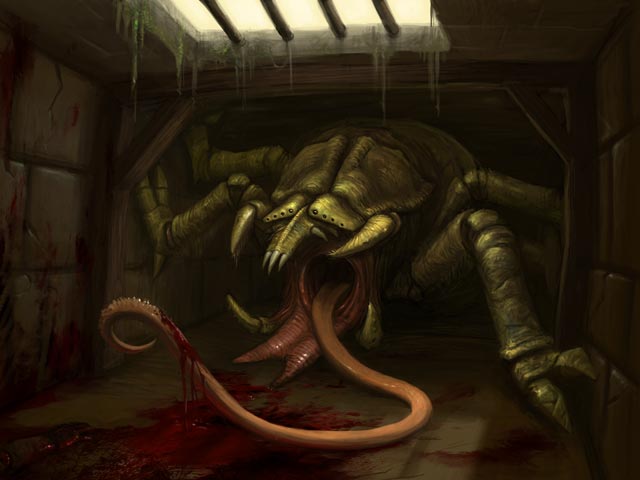
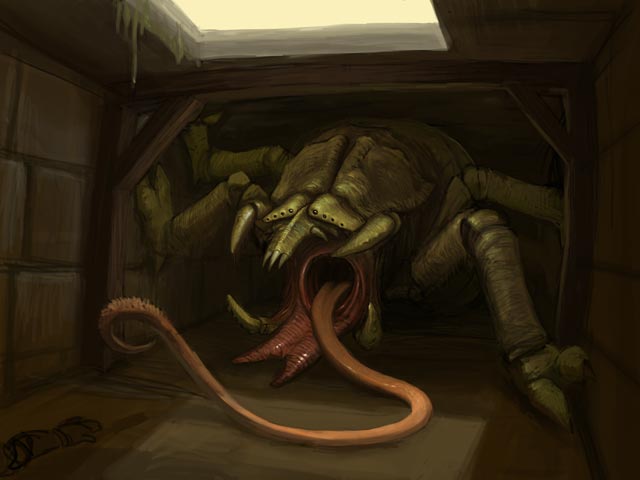
Things got a bit more gory in this step. I opened a new image, of about 2000 x 2000 pixels. This would be used to paint the bloodstain you see in the floor, but from a top down perspective. I used a lot of different brushes, usually the ones with a more natural look and painted with a dark brown color. I added another layer on multiply to get the effect of the darker blotches within the red. I painted in some lighter reds to enhance the effect of the reddish blood look. When I was happy with the stain, I pasted it in a seperate layer of the creature pic. I adjusted the stain to fit the perspective of the dungeon by using a perspective transform and some skewing. After that I erased the parts where the tongue and arm are. I painted in some blood on the tongue to give the impression that the Dommarcux was just in the middle of cleaning up. After that I added a few white highlights. Not too much, just enough to seem it blood like. After that I flattened the layer and painted some red bounce light on the underside of the tongue, and painted some edges to blend the edges of the tongue and the bloodstain together. I also added some random strokes to break it up a little.
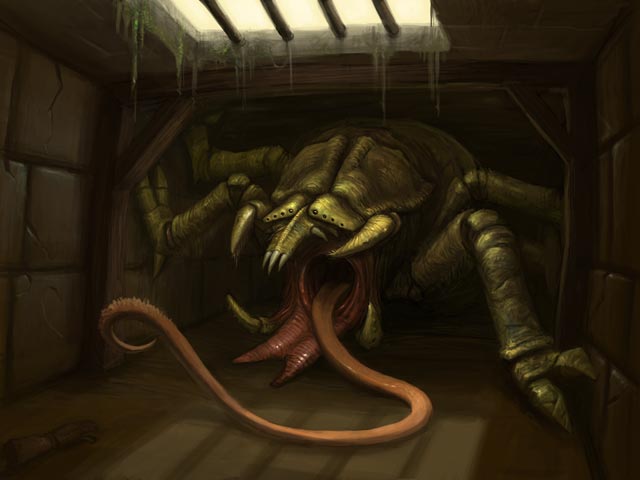
pic 12 :

In this step I worked on things that kept bugging me, but that I didnt get around to during the other steps. I Wasn't really happy with the fleshy look of the lower jaw, so I added the teeth to the ends. I wanted to do this from the beginning, but never got around to it because so many other things were asking my attention before getting to this stage. Sometimes you can
only notice or remember these little things when you're almost done and have more time to look at the whole picture in detail. I also added some slime to the mouth of the creature. I also darkened the mouth a bit more, it seemed a bit too light. I added dust particles lighting up in the light coming from above. I initally made these on a different layer, allowing me to erase and tweak it until I was happy.
See the end result here |
|
Title Dommarcux (Locutus Genraamus)
Tools Photoshop, Wacom
About Made for Creature of the Week @ ConceptArt.org.
|
|
|